When I bake sugar cookies, I’m often chasing that perfect texture—crisp edges that hold a tender, chewy center. It’s wild how just a few extra minutes in the oven can turn a cookie from soft and tender to crisp and golden. I’ve learned to embrace the spectrum, depending on what mood I’m in or what I want to serve for the day.
Baking cookies like these is a bit of a dance—timing, temperature, and a watchful eye. I used to get frustrated when they’d come out uneven, but now I see it as part of the charm. Each batch teaches me something new about how the baking time influences the crunch or chew, and that keeps me coming back for more. It’s about understanding that fleeting moment when they’re just right.
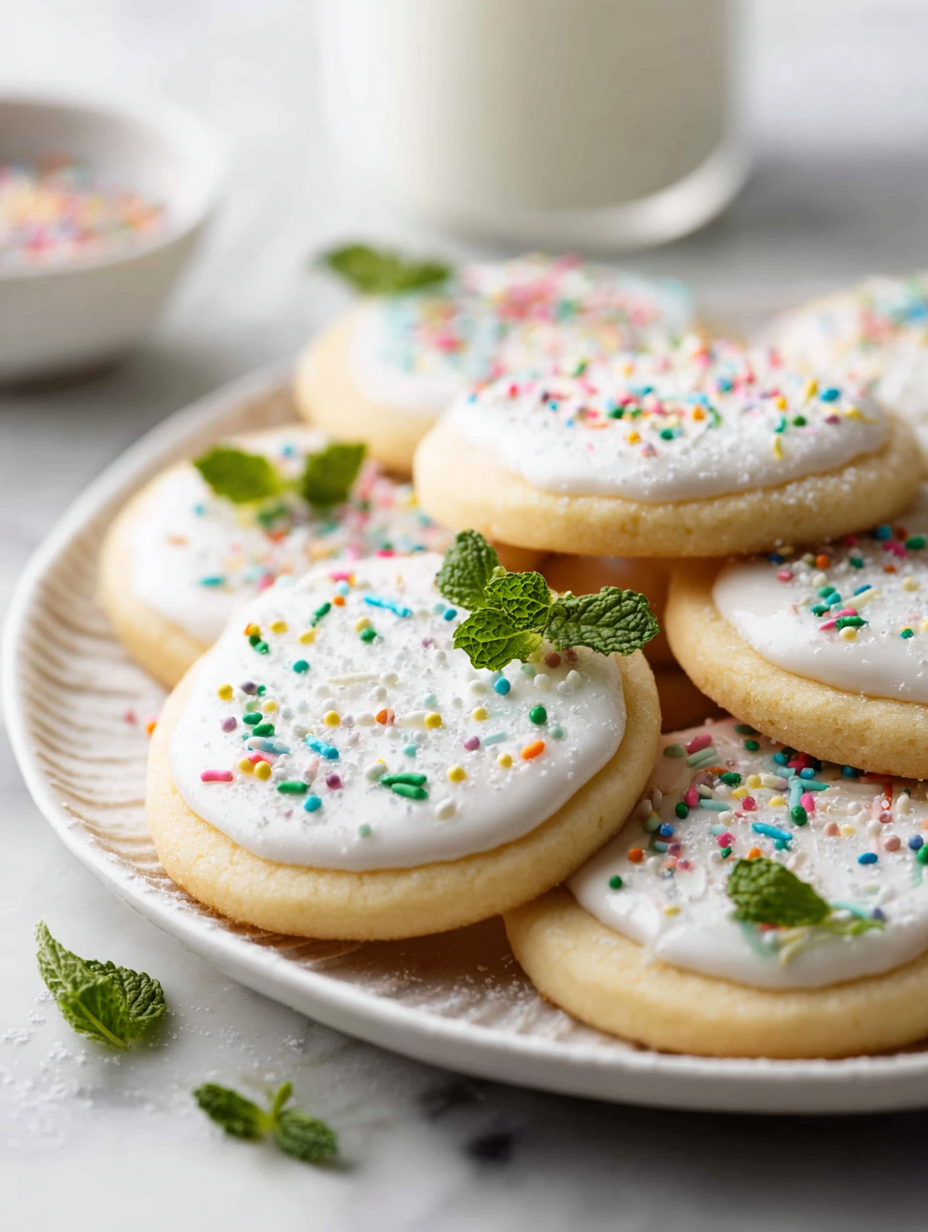
Focusing on how the texture of sugar cookies changes with different baking times, revealing a spectrum from chewy to crisp, and sharing tips to perfect each style.
The story behind this recipe
This sugar cookies recipe actually started from a messy holiday baking marathon. I wanted something simple but with a little twist—more buttery, a hint of vanilla, and just the right amount of sweetness. Every batch I made was a little different, and over time, I learned what makes a cookie tender or crisp. It’s become my go-to, especially when I want to impress without fuss, and I keep tweaking it based on what I have in the pantry or my mood that day.
Ingredient breakdown
- Flour: I prefer using unbleached all-purpose flour for a richer flavor, but you can swap with pastry flour for a more tender crumb.
- Butter: I use unsalted, European-style butter for that extra creaminess; if you only have regular butter, just reduce the salt slightly.
- Sugar: Granulated sugar gives a clean sweetness, but try a touch of brown sugar for a hint of caramel complexity and a darker color.
- Eggs: Large eggs work best; if yours are smaller, add an extra half or so to keep the dough cohesive and moist.
- Vanilla: I love a generous splash of vanilla extract—brightens the dough and adds warmth, but almond extract can be a nice twist if you like.
- Salt: A pinch of flaky sea salt on top before baking enhances the sweetness and gives a little crunch, especially if you like contrast.
- Baking Powder: Just a teaspoon helps the cookies rise slightly, making them softer and more delicate—don’t skip it if you want that light texture.
Spotlight on key ingredients
Butter:
- I prefer European-style for that rich, creamy feel; it melts smoothly, giving the cookies a tender crumb.
- Sugar: Granulated sugar is classic, but a touch of brown sugar adds depth and a hint of caramel, making each bite subtly richer.
- Vanilla: I love a bold splash—brightens the dough with fragrant warmth—and it’s the first aroma I notice when they bake.
Flour & Salt:
- Flour: I go for unbleached all-purpose, which gives a sturdy yet tender texture; switching to pastry flour makes them even softer.
- Eggs: Large eggs bind everything together; smaller eggs need a half more to keep the dough moist and cohesive.
- Salt: A pinch of flaky sea salt on top elevates the sweetness, adding a little crunch and contrast with each bite.
Notes for ingredient swaps
- Flour: I prefer unbleached all-purpose for richer flavor, but swap with pastry flour for tenderness.
- Butter: Use European-style unsalted butter for creaminess; if unavailable, regular works, just reduce salt slightly.
- Sugar: Granulated is classic, but try coconut sugar for a subtle caramel note and slightly darker cookies.
- Eggs: Large eggs are best; if yours are smaller, add an extra half for moisture and binding.
- Vanilla: A splash of vanilla brightens; for a different aroma, almond extract adds a nutty twist.
- Salt: Flaky sea salt on top enhances sweetness and adds crunch, especially if you like a contrast.
- Baking Powder: Just a teaspoon helps cookies rise lightly; omit if you prefer denser, chewier cookies.
Equipment & Tools
- Mixing bowls: To combine ingredients smoothly and evenly.
- Electric mixer or whisk: To cremate butter and sugar thoroughly.
- Rolling pin: To flatten dough evenly to ¼ inch thickness.
- Cookie cutters: To shape dough into desired forms.
- Baking sheets: To hold cookies during baking.
- Parchment paper: To prevent sticking and promote even baking.
- Wire cooling rack: To cool cookies quickly and prevent sogginess.
Step-by-step guide to sugar cookies
- Gather all ingredients and equipment. Preheat your oven to 180°C (350°F). Line baking sheets with parchment paper.
- In a large bowl, cream together 1 cup (227g) unsalted butter softened and 1 cup (200g) granulated sugar. Beat for about 2-3 minutes until fluffy and pale.
- Add 1 large egg and 2 teaspoons vanilla extract. Mix until well combined, scraping down the sides as needed.
- In a separate bowl, whisk together 2 ½ cups (310g) all-purpose flour, ½ teaspoon baking powder, and ¼ teaspoon salt.
- Gradually mix the dry ingredients into the wet, just until combined. The dough should be soft but manageable. If too sticky, chill for 15 minutes.
- Divide the dough into two halves. Roll each between two sheets of parchment paper to about ¼ inch thickness. Chill in the fridge for 30 minutes.
- Remove from fridge, peel off top parchment, and cut into desired shapes with cookie cutters. Place on prepared baking sheets, leaving space between.
- Bake for 8-10 minutes, observing the edges. For softer cookies, start checking at 8 minutes; for crispier, go to 10 or slightly more.
- Checkpoints: edges golden and firm; smell of baked vanilla and butter; cookies should jiggle slightly in the center at 8 minutes for chewy, firm for crisp.
- Once baked, let cookies cool on the sheet for 5 minutes. Transfer to wire racks to cool completely before decorating or storing.
Let baked cookies cool completely on racks. Decorate as desired or store in an airtight container for up to a week. For best flavor, enjoy within 3 days.
How to Know It’s Done
- Edges turn a light golden brown and are firm to touch.
- Sweet, buttery aroma fills the kitchen during baking.
- Cookies feel firm but not hard when lightly pressed in the center.
Classic Sugar Cookies
Ingredients
Equipment
Method
- In a large mixing bowl, beat the softened butter and sugar together with an electric mixer or whisk for about 2-3 minutes until the mixture is pale and fluffy, releasing a sweet, buttery aroma.
- Add the egg and vanilla extract to the creamed mixture, then beat again until well combined, scraping down the sides of the bowl as needed.
- In a separate bowl, whisk together the flour, baking powder, and salt until evenly mixed.
- Gradually add the dry ingredients to the wet mixture, mixing on low speed or folding gently until just combined. The dough should be soft but manageable; if sticky, chill it for 15 minutes.
- Divide the dough in half, then roll each portion between two sheets of parchment paper to about ¼ inch thickness. Chill the rolled dough in the fridge for 30 minutes to relax the gluten and prevent spreading.
- Preheat your oven to 180°C (350°F). Remove the chilled dough from the fridge, peel off the top parchment layer, and use cookie cutters to cut into your desired shapes.
- Arrange the cut-out cookies on parchment-lined baking sheets, leaving about 1 inch of space between each. Optional: sprinkle with flaky sea salt for extra flavor.
- Bake for 8 to 10 minutes, watching closely. For softer cookies, check at 8 minutes; for crispier edges, bake a little longer until edges are golden brown and firm.
- Once baked, let the cookies cool on the baking sheet for 5 minutes, then transfer them to a wire rack to cool completely. They will firm up as they cool, revealing a tender center and crisp edges based on your baking time.
- Enjoy these buttery sugar cookies plain or decorate with icing, sprinkles, or your favorite toppings. Store in an airtight container at room temperature for up to a week, or freeze for longer freshness.
Pro tips for perfect sugar cookies
- Chill the dough thoroughly to prevent spreading during baking, making cookies easier to shape.
- Use parchment paper generously; it keeps cookies from sticking and promotes even browning.
- Keep an eye on the edges; start checking at 8 minutes for softer cookies, or go longer for crispier.
- Rotate baking sheets halfway through baking to ensure uniform color and texture.
- For perfectly smooth tops, gently tap the rolled dough to settle air bubbles before cutting.
- Slightly underbake for chewy centers; they firm up as they cool, so trust the color and smell.
- Store cookies in an airtight container at room temperature for up to a week, or freeze for longer storage.
Common mistakes and how to fix them
- FORGOT to chill dough → Chill for at least 30 minutes for easier rolling.
- DUMPED too much flour → Use a light touch; add more flour if dough is sticky.
- OVER-TORCHED cookies → Remove when edges are just golden; they firm up upon cooling.
- MISSED the oven preheat → Always preheat oven to avoid uneven baking and flat cookies.
Quick fixes and pantry swaps
- If cookies spread too thin, chill dough 15 minutes before baking.
- When dough cracks, patch with a tiny bit of water and press together.
- Splash a little milk over cookies before baking for a shiny finish.
- Patch cracks with extra dough, then chill again to prevent spreading.
- Shield edges with foil if they brown too fast, revealing a faint shimmer.
Make-Ahead & Storage Tips
- Prepare the dough in advance and chill it for at least 1 hour or overnight for easier rolling and better flavor.
- Store baked cookies in an airtight container at room temperature for up to a week; for longer storage, freeze them for up to 3 months.
- Cookies may soften over time; crisp them back up in a 150°C (300°F) oven for 5 minutes, until they shimmer and smell buttery.
- Unbaked dough can be wrapped tightly and frozen for up to 2 months; thaw in the fridge before rolling out.
Top questions about sugar cookies
1. Should I use room temperature or cold butter?
Use cold butter straight from the fridge; it helps the dough stay firm and easier to handle.
2. Do I need to chill the dough before baking?
Chill the dough for at least 30 minutes to prevent spreading and make it easier to roll out.
3. How do I know when sugar cookies are done?
Bake until edges are just golden; overbaking makes them crisp and less tender.
4. My cookies spread flat, how can I fix that?
If cookies spread too much, chill the cutouts for 10-15 minutes before baking.
5. How long should I bake sugar cookies?
For softer cookies, bake for 8 minutes; for crunchier, go up to 10 minutes and watch closely.
6. How should I store sugar cookies?
Store cookies in an airtight container at room temperature for up to a week; freeze for longer storage.
7. Can I bake directly on a baking sheet without parchment?
Use parchment paper to prevent sticking and promote even baking; it also makes cleanup easier.
8. How can I customize my sugar cookies?
To add flavor, try vanilla or almond extract; for a different look, sprinkle with colored sugar or sprinkles before baking.
9. My cookies are too hard, what can I do?
If cookies are too hard after baking, rewarm briefly in a low oven or microwave to soften.
10. How do I adjust baking time for my oven?
Adjust baking time based on your oven’s heat; always start checking a minute or two early to prevent overbaking.
Baking these sugar cookies reminds me that simple ingredients and a bit of patience create something truly comforting. The smell of vanilla and butter filling the kitchen is a quiet celebration of home and tradition. Sometimes, it’s the small, imperfect batches that end up feeling most special.
In a world that’s often rushing, taking time to perfect a familiar treat grounds me. Whether they’re for a casual afternoon or a holiday gift, these cookies carry a little piece of my kitchen’s heart. And honestly, that’s enough to keep me coming back, spoon in hand, ready for the next batch.

Hi, I’m Ava Bennett. Welcome to Glowing With Pride. I’m Ava Bennett, a professional chef, recipe developer, and lifelong believer that food is one of the most powerful ways we express love, identity, and joy. This space was created from years of working in professional kitchens, countless late nights behind the line, and a deep desire to share food in a way that feels personal, proud, and purposeful. Cooking has never just been my career. It has been my language.


Leave a Reply