When I first started baking cookies, I overlooked the simple power of patience—specifically, chilling the dough overnight. It’s like giving the flavors time to settle, developing a richer, more complex sweetness that you just can’t get from a quick bake. Honestly, that extra step feels like a secret handshake between you and your ingredients, turning a good cookie into a memorable one.
The best part is how this small ritual impacts texture. The chilled dough spreads less in the oven, resulting in thicker, chewier cookies with crispy edges. It’s a little bit of chaos waiting to be tamed, but every minute in the fridge is like a quiet pause, letting everything come together—flavor, texture, and that deep, buttery aroma that fills the kitchen.
Focusing on the overlooked importance of chilling cookie dough overnight for maximum flavor and perfect texture, revealing how patience transforms the outcome.
The story behind this recipe
- This recipe is born from a memory of my grandmother’s kitchen, where the smell of melting butter and vanilla would fill the air just as the sun set. She had this way of making cookies that felt like a small celebration every time. Over the years, I’ve played with her methods, trying to capture that warmth and imperfect charm in my own oven.
- One day, I realized it’s not just the ingredients, but the tiny quirks—like a pinch of sea salt or a splash of vanilla—that make all the difference. It’s about the little details that turn a simple chocolate chip cookie into a nostalgic, messy, love-infused treat. This recipe feels like a quiet nod to her, wrapped in my own tweaks and stories.
- heading: ‘The story behind this recipe’
Ingredient breakdown
- Butter: I use unsalted butter, softened but not melty, to give a rich, creamy base. If you prefer a slightly nuttier flavor, try browned butter—just watch it closely so it doesn’t burn.
- Granulated sugar: I stick to white sugar for a clean sweetness that crisps the edges nicely. For a deeper caramel note, swap half for brown sugar, which adds chewiness and a molasses aroma.
- Eggs: Fresh eggs at room temperature help everything blend smoothly. If yours are cold, give them a quick whisk before adding, for a more even dough and better rise.
- Vanilla extract: I love a good splash—brings warmth and depth. If you’re out, a tiny bit of vanilla bean paste adds specks and a more intense aroma; it’s worth seeking out.
- Chocolate chips: I prefer semi-sweet chunks because they melt just enough during baking, creating gooey pockets. For more contrast, use dark chocolate or toss in some chopped milk chocolate for sweetness.
- Flour: I use all-purpose, but if you want a slightly softer cookie, swap in a small amount of cake flour. Sift it well to avoid clumps and ensure a tender crumb.
- Baking soda: I opt for fresh baking soda—test it by dropping a pinch into vinegar to see fizz. It’s crucial for that lift and spread, so don’t skimp on freshness.
Spotlight on key ingredients
Chocolate Chips:
- Butter: I use unsalted butter, softened but not melty, to give a rich, creamy base. Watch for a slight smell of toasted nuts when it’s browned for extra flavor.
- I prefer semi-sweet chunks because they melt just enough during baking, creating gooey pockets. They ooze richness and a hint of bitterness that balances sweet dough.
Flour & Baking Soda:
- Flour: I use all-purpose, but a slight addition of cake flour makes for softer, more tender cookies. Sifting it ensures a light, airy crumb that doesn’t crumble too easily.
- Baking soda: I opt for fresh baking soda—fizzing slightly when tested with vinegar—is crucial for proper lift and spreading during baking.
Notes for ingredient swaps
- Butter: I use unsalted butter, softened but not melty, for a rich base. Swap with margarine if you prefer a saltier, more neutral flavor—just note it might affect texture slightly.
- Granulated sugar: I prefer white for crisp edges, but brown sugar adds chewiness and a caramel note. You can mix half and half for a balanced bite.
- Eggs: Room temperature eggs blend better, but if yours are cold, give them a quick whisk first. Flaxseed or chia seed gel can replace eggs for a vegan twist, though cookies may be slightly denser.
- Vanilla extract: A splash of vanilla deepens flavor, but vanilla bean paste adds specks and a more intense aroma—worth seeking out if you want an extra layer.
- Chocolate chips: Semi-sweet are my go-to, but chopped dark chocolate offers a more intense cocoa hit. For a sweeter cookie, toss in chopped milk chocolate or white chocolate chips.
- Flour: All-purpose is classic, but if you want softer cookies, try a bit of cake flour or bread flour for more chew. Sifting helps keep the dough light.
- Baking soda: Fresh baking soda is key—test it with a vinegar drop to ensure it’s active. If you don’t have it, baking powder can be a substitute, but expect a different rise and spread.
Equipment & Tools
- Oven: Bake the cookies evenly.
- Baking sheet: Provide a flat surface for baking.
- Parchment paper: Prevent sticking and promote even baking.
- Mixer: Cream butter and sugar, blend ingredients smoothly.
- Cookie scoop: Portion dough uniformly.
- Wire rack: Cool cookies evenly and prevent sogginess.
Step-by-step guide to baking
- Preheat your oven to 180°C (350°F). Line a baking sheet with parchment paper; set aside. Gather all ingredients and tools. Use a mixer to cream together 1 cup softened unsalted butter and 1 cup granulated sugar until pale and fluffy, about 3 minutes. Add 2 large eggs one at a time, mixing well after each addition. Stir in 2 teaspoons vanilla extract. In a separate bowl, whisk together 2 ½ cups all-purpose flour, 1 teaspoon baking soda, and a pinch of salt. Gradually add the dry ingredients to the wet, mixing on low speed until just combined. Fold in 1 ½ cups semi-sweet chocolate chips with a spatula, ensuring even distribution.
- Using a cookie scoop or tablespoon, portion dough onto the prepared baking sheet, spacing about 5 cm (2 inches) apart. Slightly flatten each ball with the back of a fork or your fingers. Bake for 10-12 minutes, or until the edges are golden brown and the centers look set but still soft. During baking, the smell of melted chocolate and toasted butter will fill your kitchen. If the cookies spread too much, chill the dough for 15 minutes before baking next time. If they brown too quickly, lower the oven temperature slightly. For a chewier cookie, bake closer to 12 minutes; for crisper edges, go for 10 minutes.
- Remove the baking sheet from the oven and let the cookies rest for 5 minutes. Transfer cookies to a wire rack to cool completely. Resting allows the centers to firm up without overbaking the edges. Serve once cooled, or store in an airtight container for up to 3 days. For longer storage, freeze baked cookies for up to 1 month. Reheat briefly in a warm oven or microwave until just warm and fragrant, about 10 seconds, to revive that freshly baked aroma.
Allow cookies to rest on the cooling rack for 5 minutes to set. Serve warm or at room temp. Store in an airtight container; best enjoyed within 3 days for optimal freshness.
How to Know It’s Done
- Edges are golden and slightly crisp, centers soft but set.
- Chocolate chips are gooey and melted, not burnt or dry.
- Cookies hold shape but are not hard; they have a slight jiggle when gently pressed.
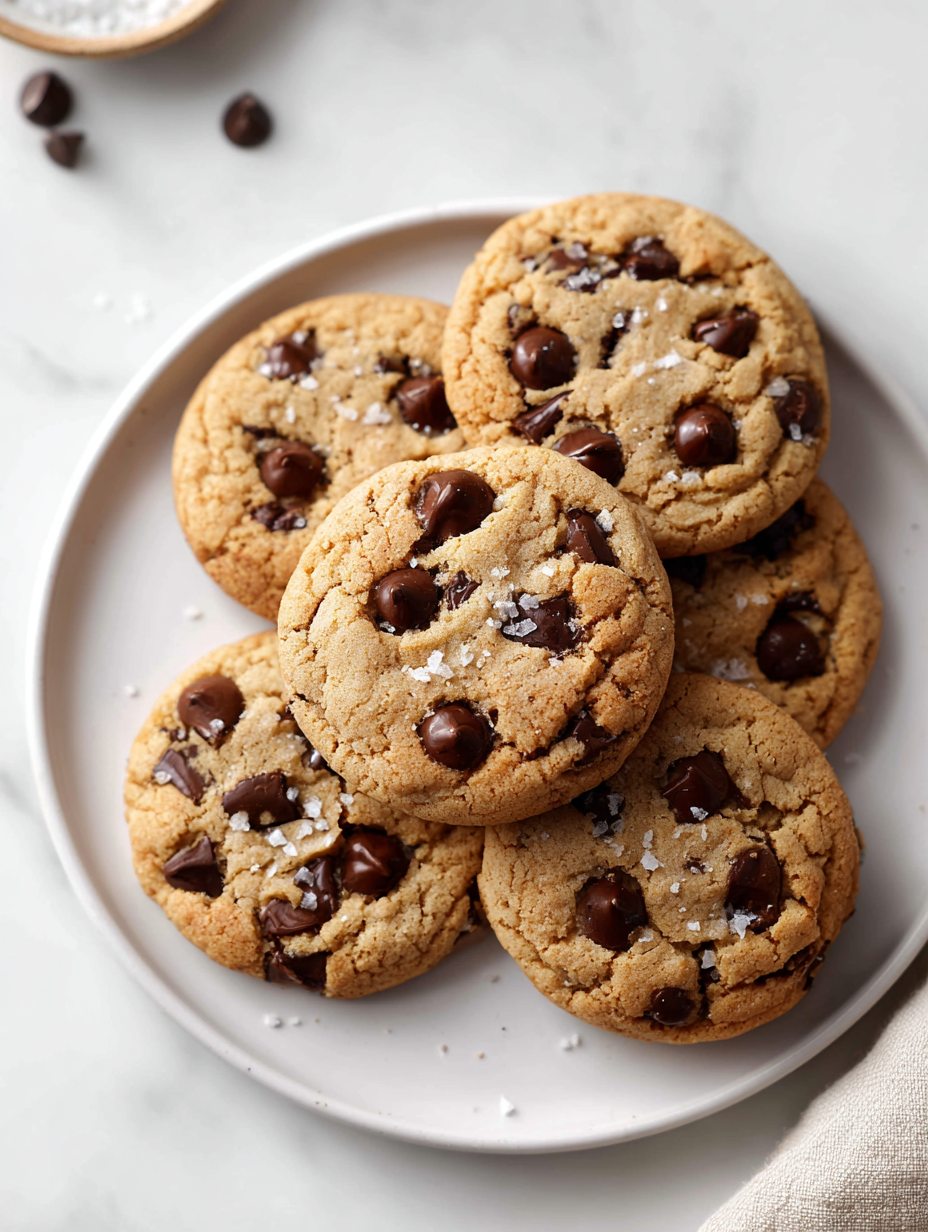
Overnight Chilled Chocolate Chip Cookies
Ingredients
Equipment
Method
- Start by creaming together the softened butter and granulated sugar in a mixer until the mixture is light, fluffy, and pale, about 3 minutes. The aroma should be buttery and sweet, and the mixture should look airy.
- Add the eggs one at a time, beating well after each addition. You’ll notice the mixture becomes smooth and slightly thicker, with a glossy sheen.
- Stir in the vanilla extract until incorporated, filling your kitchen with a warm, fragrant aroma.
- In a separate bowl, whisk together the sifted flour and baking soda. Gradually add this dry mixture to the wet ingredients, mixing on low speed just until combined. The dough will start to come together and feel slightly sticky but soft.
- Gently fold in the chocolate chips with a spatula, ensuring even distribution without overmixing, which keeps the cookies tender.
- Scoop the dough onto a baking sheet lined with parchment paper, spacing each portion about 5 cm apart. Slightly flatten each mound with the back of a fork or your fingers to promote even baking.
- Cover the baking sheet with plastic wrap and place it in the refrigerator to chill overnight, at least 12 hours. This step allows flavors to deepen and dough to firm up, reducing spread during baking.
- Preheat your oven to 180°C (350°F). Remove the chilled dough from the fridge and let it sit at room temperature for 10 minutes while the oven heats up.
- Place the dough portions on the prepared baking sheet and bake for 10-12 minutes, until the edges are golden brown and the centers look slightly underbaked but set. The smell of melting chocolate and toasted butter will fill your kitchen.
- Remove the cookies from the oven and let them rest on the baking sheet for 5 minutes. Then transfer them to a wire rack to cool completely. This allows the centers to firm up and develop a chewy texture, with crispy edges.
- Once cooled, enjoy your thick, chewy, chocolate-studded cookies with crispy edges, or store them in an airtight container for up to 3 days. Reheat briefly to enjoy that freshly baked warmth and gooey chocolate.
Notes
Quick tips for perfect cookies
- Bolded mini-head: Chill the dough overnight for maximum flavor and a chewier texture. The slow rest develops deeper, more complex sweetness.
- Bolded mini-head: Use a light hand when mixing in chocolate chips—overmixing can make the cookies dense. Fold gently for even distribution.
- Bolded mini-head: For a softer cookie, bake closer to 10 minutes. For crunchier edges, extend to 12 minutes and watch for golden rims.
- Bolded mini-head: Slightly underbaking can keep cookies gooey inside. They firm up as they cool, so pull them out a tad early.
- Bolded mini-head: If your cookies spread too much, chill the dough for 15 minutes before baking. Cold dough spreads less in the oven.
- Bolded mini-head: Use parchment paper to prevent sticking and promote even browning. Skip greasing the pan for a cleaner bake.
- Bolded mini-head: For extra flavor, sprinkle a tiny pinch of sea salt on top before baking—this enhances the chocolate’s richness.
Common mistakes and how to fix them
- FORGOT to check oven temperature → Use an oven thermometer for accuracy.
- DUMPED in all the chocolate chips at once → Fold in chips gradually for even distribution.
- OVER-TORCHED the cookies → Bake at 180°C (350°F) and watch for golden edges.
- MISSED chilling the dough overnight → Chill at least 2 hours; longer enhances flavor and texture.
Quick fixes and pantry swaps
- When dough is sticky, splash a little flour and knead gently to rescue it.
- If cookies spread too much, chill the dough for 15 minutes before baking.
- Patch burnt bottoms by placing cookies on a new, unburned parchment sheet.
- When chocolate looks dull or hard, gently reheat for a few seconds to shimmer.
- Splash a pinch of salt on top if cookies taste flat or overly sweet.
Prep, store, and reheat tips
- Dough can be prepared a day in advance; wrap tightly and refrigerate for up to 24 hours. Flavors deepen overnight, resulting in richer, more complex cookies.
- Baked cookies stay crisp on the edges and chewy in the center for about 3 days when stored in an airtight container at room temperature. Keep a paper towel underneath to absorb excess moisture.
- For longer storage, freeze baked cookies for up to 1 month. Wrap them well to prevent freezer burn and preserve freshness. Reheat briefly in a warm oven or microwave—expect a fragrant, melty chocolate aroma in seconds.
- Refrigerated or frozen dough benefits from a 10-15 minute warm-up at room temp before scooping and baking. This helps cookies spread evenly and develop better texture.
- Reheating cookies in the oven at 160°C (320°F) for 3-5 minutes restores softness and warmth. Expect the smell of toasted vanilla and melted chocolate as they come back to life.
Top questions about chocolate chip cookies
1. Can I use margarine instead of butter?
Yes, you can swap butter for margarine, but it might slightly change the richness and texture, making cookies a bit softer.
2. Can I replace the sugars?
Absolutely. Using a combination of brown and white sugar adds chewiness and a deeper caramel flavor, which many find irresistible.
3. Should eggs be cold or room temp?
Room temperature eggs blend more smoothly, helping the cookies rise evenly. Cold eggs can make the dough uneven and dense.
4. Can I add salt on top?
Yes, adding a pinch of sea salt on top before baking enhances the chocolate flavor and balances sweetness.
5. How long should I chill the dough?
Chilling the dough for at least 2 hours, preferably overnight, develops flavor and prevents spreading during baking.
6. What kind of chocolate is best?
Use semi-sweet or dark chocolate for a balanced, rich flavor. Chopped chunks melt better and create gooey pockets.
7. How do I know when cookies are done?
Bake at 180°C (350°F) until edges are golden and centers are slightly soft. Overbaking makes them hard, underbaking leaves them too soft.
8. What if my cookies spread too much?
If cookies spread too much, chill the dough for 15 minutes. If they brown too quickly, lower oven temp slightly.
9. How should I store leftover cookies?
Store baked cookies in an airtight container for up to 3 days. Freeze for up to a month, reheating briefly to revive freshness.
10. How can I adjust baking time for desired texture?
For chewier cookies, bake closer to 10 minutes. For crisp edges, extend baking to 12 minutes, watching for golden rims.
Baking these cookies is about more than just the end result; it’s a small act of patience and care. The aroma of melted chocolate and toasted butter filling the house makes every step worth it. These cookies remind me that sometimes, the best moments come from simple, honest effort.
Sharing a batch with someone you care about, still warm and gooey, turns a basic treat into a memory. No matter how many times I make them, they always feel like a quiet celebration—an everyday joy that’s hard to beat.

Hi, I’m Ava Bennett. Welcome to Glowing With Pride. I’m Ava Bennett, a professional chef, recipe developer, and lifelong believer that food is one of the most powerful ways we express love, identity, and joy. This space was created from years of working in professional kitchens, countless late nights behind the line, and a deep desire to share food in a way that feels personal, proud, and purposeful. Cooking has never just been my career. It has been my language.


Leave a Reply